The Grabber for Earth
Blog entries

For the exhibition, we set up in a primary school classroom that was being used to show the models that my university’s class created for the little inventors themselves. We got to meet Eloise and talk to her about the model, and she helped out by showcasing the model to the other primary school and nursery students.
We had to lean the model scooter against a green paper-covered piece of card as the model was a bit top-heavy.
For the poster, we placed it onto a whiteboard easel that had the posters for the rest of our group on it.
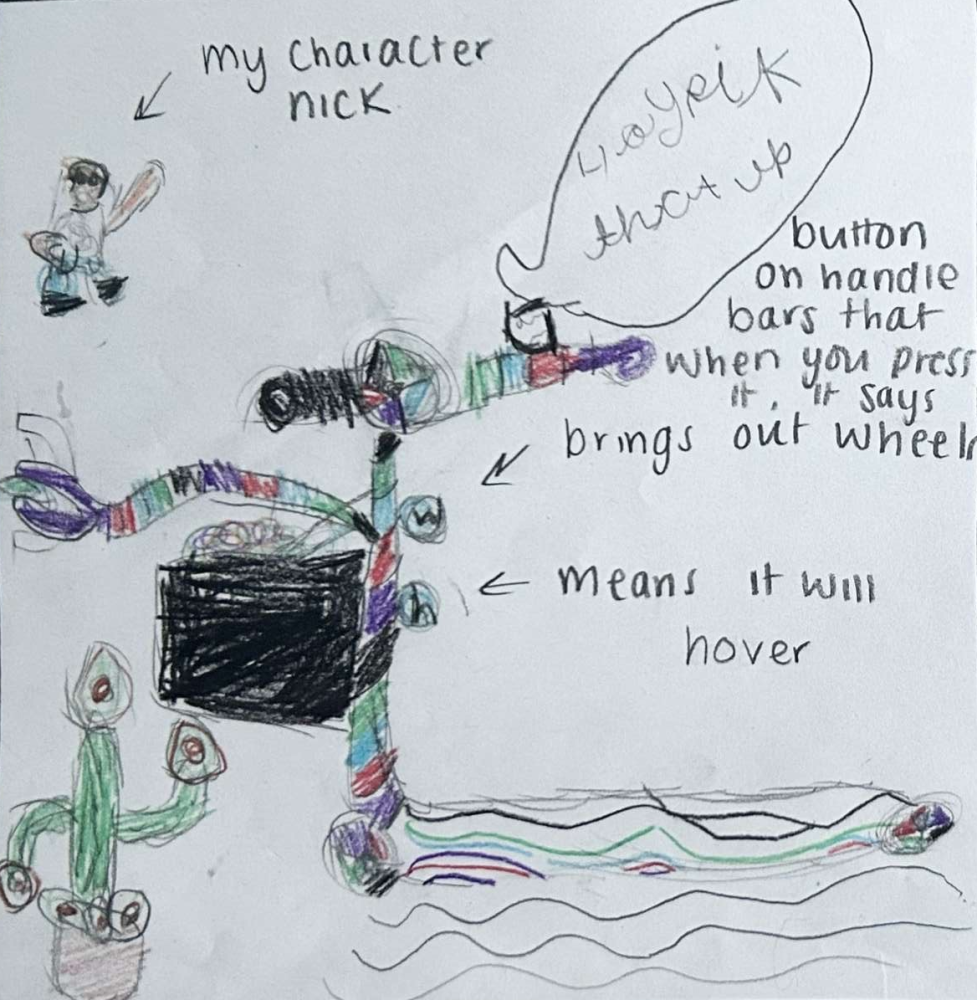
As a last minute change, I also drew Nick and placed him onto the poster.
After completing all the parts of The Grabber for Earth scooter, we assembled them to create the finished model of the scooter.
The real wheel was re-attached to the deck so it could perform its hover pivot. The steering column was put through its holder, and the handlebars were attached to the groove that was made for it. This made me realise that I had attached the front wheel to the steering column sideways, though this was quickly fixed by punching out the right holes in the right "side" of the steering column and re-attaching the front wheel.
The flat side of the steering column holder was hot-glued to a flat part on the curved end of the scooter's deck, and the steering wheel was glued to its position at the middle of the handlebars. The basket was glued to its position on the front of the steering column, and the Grabber arm was attached above it.
Other previously unmentioned parts were also attached to complete the model. These include the up/down buttons that would be used for the wheels, which were glued to the steering column to face the user; and another button, which was attached to the right side of the handlebars.
With this all said and done, the model was complete. The final thing we did was to take a photo of the model in front of a white background, with the poster on said background.
For the second draft of the poster, I took the advice I had been given and got to work. I started off by cutting out the scooter from the original background in image editing software and replaced the background with a dirty street. I then added a shadow underneath the scooter to make it look like as if the scooter was hovering. After this, I added a rubbish pile in front of the scooter to make it look as if the Grabber arm was picking the can out of said pile. Though it may look a bit strange, the rubbish pile overlapping the scooter’s shadow was a conscious choice to make the rubbish pile stand out more. After that, I edited the basket to have pieces of litter in it as that would be where the Grabber arms stores the litter that it picks up.
For the font I first used a quite thin font named "Herculanum", with white font colouring and a black outline. However the font was changed to a larger, more blocky font named "Childhood by Flo Crusher" to be consistent with the other sub-groups that I was in a larger group with. The editing of the text was largely kept the same, bar a spelling mistake or two.
This resulted in Draft 2.1, which ended up becoming the finished version of the poster.
During the exhibition, we added Nick onto the poster using a drawing of the character.
For the A3 poster, I first started off with creating a 3D model of the scooter grabbing a can in 3D modelling software. It was based both on Eloise's original drawing and the actual model that I and Josh was making. I was unable to give the scooter its full multi-colour striped look due software limitations, so I settled for having the different parts of the scooter be different single colours and decided to incorporate the multi-colour scheme in a different way. I rendered some shots of the scooter in various environments, though I ended up choosing the one with the city plaza environment as that fit the best with previous advice I had been given for the poster.
From there, I started to make the first poster draft. I positioned the render image so that it would be around the centre-right of the poster, with text of the poster being in the top left corner. I made the text multi-coloured to incorporate the multi-colour scheme of the scooter into the poster, with an outer-glow effect added to the smaller text in an effort to make the text more legible from the background. For the feedback of the poster draft, it was suggested that I should use a background of a dirty street instead of the quite clean city plaza in my rendering. It was also suggested that I should use different colours for the text as it was a bit distracting, and that I should add a pile of rubbish in front of the scooter so that it looks like the Grabber arm is picking the can out of the rubbish pile. Another suggestion was that I should put some rubbish in the basket of the scooter. I took all this advice into consideration for the second draft.
For the steering column holder, I first drew around the steering column onto a piece of cardboard so that the circle would be the same size/shape as the steering column. I then drew a semi-oval around the circle, then cut out the semi-oval. After that I cut out the circle so that I could put the steering column through, completing one face of the holder. I then repeated this using the first face as a template to draw around.
After having both faces done, I began to work on the sides of the steering column holder. First I worked on the inner side of the holder, which required me to cut out a long strip of cardboard and bend it around the circle. I then glued it onto the bottom face of the holder using a hot glue gun.
For the outer sides, I started off with the flat part. I cut out a strip of cardboard the same height as the inner sides and glued it to its spot on the bottom face with hot glue. The same was also done for the much longer curved side of the steering column holder.
To finish the part off, I decided to decorate the steering column holder with white paper to make it look consistent with the deck of the scooter.
Before I started to decorate the steering column, I first created curves at the top of it using a box-cutter knife so that the handle-bar section could fit onto the steering column itself. After I did that, I originally planned to decorate the steering column with diagonal striping, like a multi-coloured candy cane or barber's pole as per the original drawing. However I couldn't figure out how to create the pattern seamlessly with the limited coloured paper I had, so I resorted to doing more simple horizontal stripes instead though still with the original colours. I glued each stripe to the steering column using a glue stick, the same was done with the handle bars. I also punched holes through the paper where I previously created them on the steering column so that I could fit the cocktail stick that I'd use as an axle.
I then fitted the cocktail-stick axle, and the wheels' brackets and caps to said axle. After that, I hot-glued the caps to the axle so that the wheels' brackets wouldn't fall off and ruin the model.
The decoration of the wheels was handled both by me and Josh, as we each decorated a separate wheel. The tread and brackets of the wheels were coloured black by gluing down strips of black paper with a glue stick. The sides of the wheels used purple, red, green and black paper for the different segments of colour, like how it was on the original drawing by Eloise. These segments were also glued down with a glue stick. The centre of the wheel sides for both wheels had a black circle that was coloured in using a marker to represent where the axle would be.
The basket for the Grabber to place rubbish in was created by Josh. He first weaved the basket out of black paper, then placed a cardboard box covered in black paper inside of the basket to strengthen the basket so that it could hold pieces of rubbish (a plastic bottle, for example) for when the finished model of the scooter would be put on display.
For the final version of the Grabber arm, this was done by Josh. Josh decided to take the cardboard strips of the prototype Grabber arm and refine them. The first step was to add and glue coloured paper to the cardboard strips, then for further refinement the ends of the cardboard strips were cut into curves. Holes were also put into both ends and the middle of the cardboard strip so that toothpicks could be fitted to make the grabber arm move.
The now refined strips of cardboard were then assembled like the prototype of the Grabber arm, with the strips put into a sort of lattice pattern with chopped cocktail sticks placed in the strips' holes so that the Grabber arm could extend and retract. So that the cocktail sticks wouldn't fall out, round end caps were created using cardboard covered in coloured paper which were then put over the top of the strips/cocktail sticks and glued to said cocktail sticks.
Just like the prototype, the final version of the Grabber arm was able to extend and retract freely.
For the Grabber arm piece itself, this was handled by Josh. For the functional prototype of the Grabber arm, he took six cardboard strips and arranged them into a sort of lattice pattern with two additional smaller cardboard strips at the end of the pattern to represent the claws of the Grabber. Where the cardboard strips overlapped, he added holes and cocktail sticks chopped to size so that the Grabber arm would be able to retract and extend. To cover the chopped cocktail sticks to prevent them from falling out, he first used masking tape then used cardboard. He also chopped the "claws" of the Grabber at an angle to make them look more claw-like.
The prototype was a success as it was able to retract and extend, and as a result Josh began to work on the final Grabber arm for the scooter model. While the grabber arm didn't quite look like the nozzle-esque arm portrayed in the original drawing, we both figured that the functionality of the grabber arm more than made up for it.
For further strengthening and the full decoration of the deck, this was done by Josh. First, he used white paper to cover the bottom and the sides of the deck. He then used mounting board to strengthen the deck further by essentially creating a replica deck out of mounting board and attaching it to the top of the deck by taping it via the sides of the deck using masking tape, also making the sides look less rough in the process.
After this, he drew multi-coloured wavy lines onto the top of the deck. These lines reference the multi-coloured lines on the deck of the scooter on Eloise's drawing. They were also outlined to make the lines pop more.
The steering wheel was created by drawing and cutting out a medium-sized circle from cardboard. After cutting it out, I wrote down on the circle where each colour should go based on Aloise's drawing. Black paper was used to cover one side of the steering wheel and to cover the edge of it. I then started to work on the other side of the steering wheel to add the different segments of coloured paper to their specified areas. After I did that, I used small strips of black paper to cover the borders of where the different sections of coloured paper met. To finish it off, I added a small black paper circle in the centre of the steering wheel to cover where the black strips overlapped.
The steering column of the scooter was created using a large carboard tube that was lying around in my class. Fortunately, the diameter of the tube seemed to be in scale with the rest of the scooter however the tube itself was too long. As a result I had to cut it in two. The other section of the cardboard tube was later used by Josh to create the handlebar section.
After this, I made two small holes near the bottom of the tube so that i could fit in a toothpick as an axle for the front wheel to move in and out of its hover mode. I dry-fitted the front wheels' brackets to the toothpick -axle and the wheel was freely able to move up and down. I also dry-fitted the circular caps over the top of the wheel brackets as they would later be glued to the axle to prevent the wheel from coming off.
After creating the base deck but before the deck was finished by Josh, I decided to create a test version of the rear wheel's "hover pivot" movement. This was done by first adding two slits to the rear end of the cardboard deck for the wheel brackets to move into. I then temporarily glued a piece of cardboard in a sort of "V" shape to the underside of the rear of the deck between the slits to act as an axle-holder for the rear wheel so that it could move up or down.
Fortunately, this worked and the rear wheel was able to move up and down between its wheel and hover modes. I also added cardboard over the ends of where the toothpick axle was sticking out, though this was also only temporary and later removed.
To create the deck for the scooter, the first thing I did was to take a flap of a cardboard box and essentially just cut it off as it was roughly the size of what I wanted the scooter's deck to be. I later decided though that it was too small though and so I cut out a longer and slightly wider deck out of cardboard and used the previous deck as an underside support. I also curved the front part of the deck and chopped off the corners of the rear of the deck to make it look more similar to Eloise's drawing.
After doing some sketching, I immediately began to work on creating the wheels for the scooter. I drew around my water bottle on a piece of cardboard to make the circle shape for one side of one of the wheels, then cut the shape out. I repeated this for the other side of the wheel.
Afterwards I started to create the barrel section of the wheel. I did this by cutting out a long strip of cardboard, and wrapping it around one side of the wheel. After this, I cut off the excess cardboard off of the strip and glued the barrel and the wheel sides together using a hot glue gun.
I then cut out two rectangular pieces of cardboard to act as the brackets for the wheel and attached them to either side of the wheel. I also added small holes to the brackets either side of the wheel for the toothpick axle so that the wheels could move up or down to represent the scooter's "hover mode".
All these processes were then repeated to make the second wheel of the scooter.
To begin with, I drew sketches of the scooter so that I could get a feel for how to implement some of the features of the Grabber such as the moving wheels to put it in "hover mode".
I also began to create some thumbnail sketches for the A3 posters, with the general concept of them having Eloise's character Nick riding the Grabber while it picks up a littered can. In the end though, we ended up not using Nick on the grabber. He later made it on the poster in the exhibition though.
I also got advice on things such as what environment to put the scooter in on the poster.