Darkness Torch
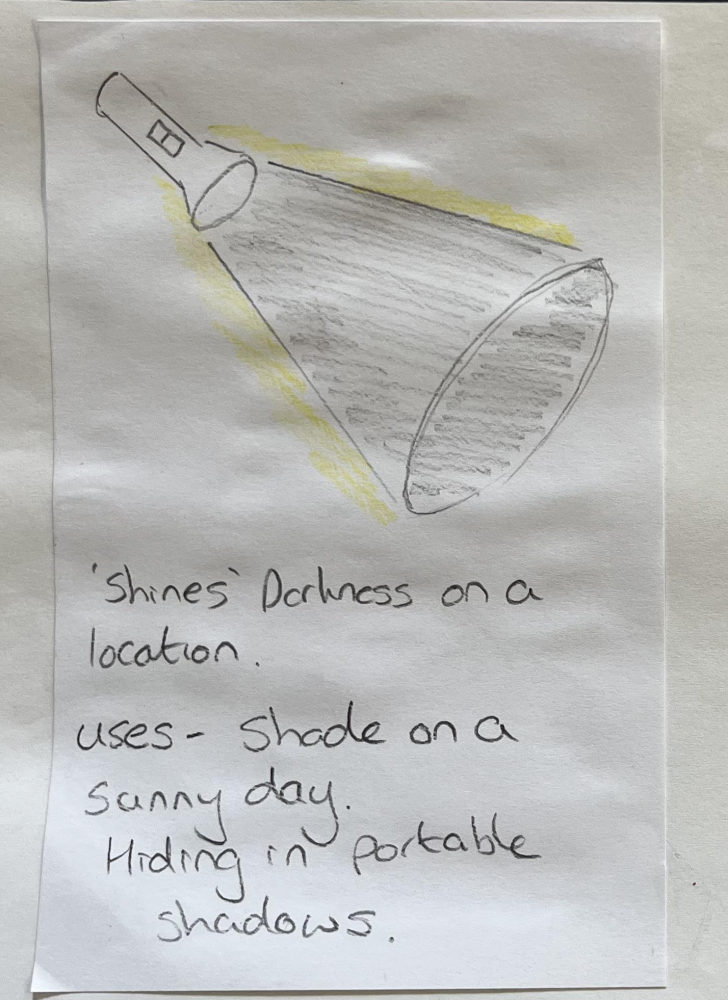
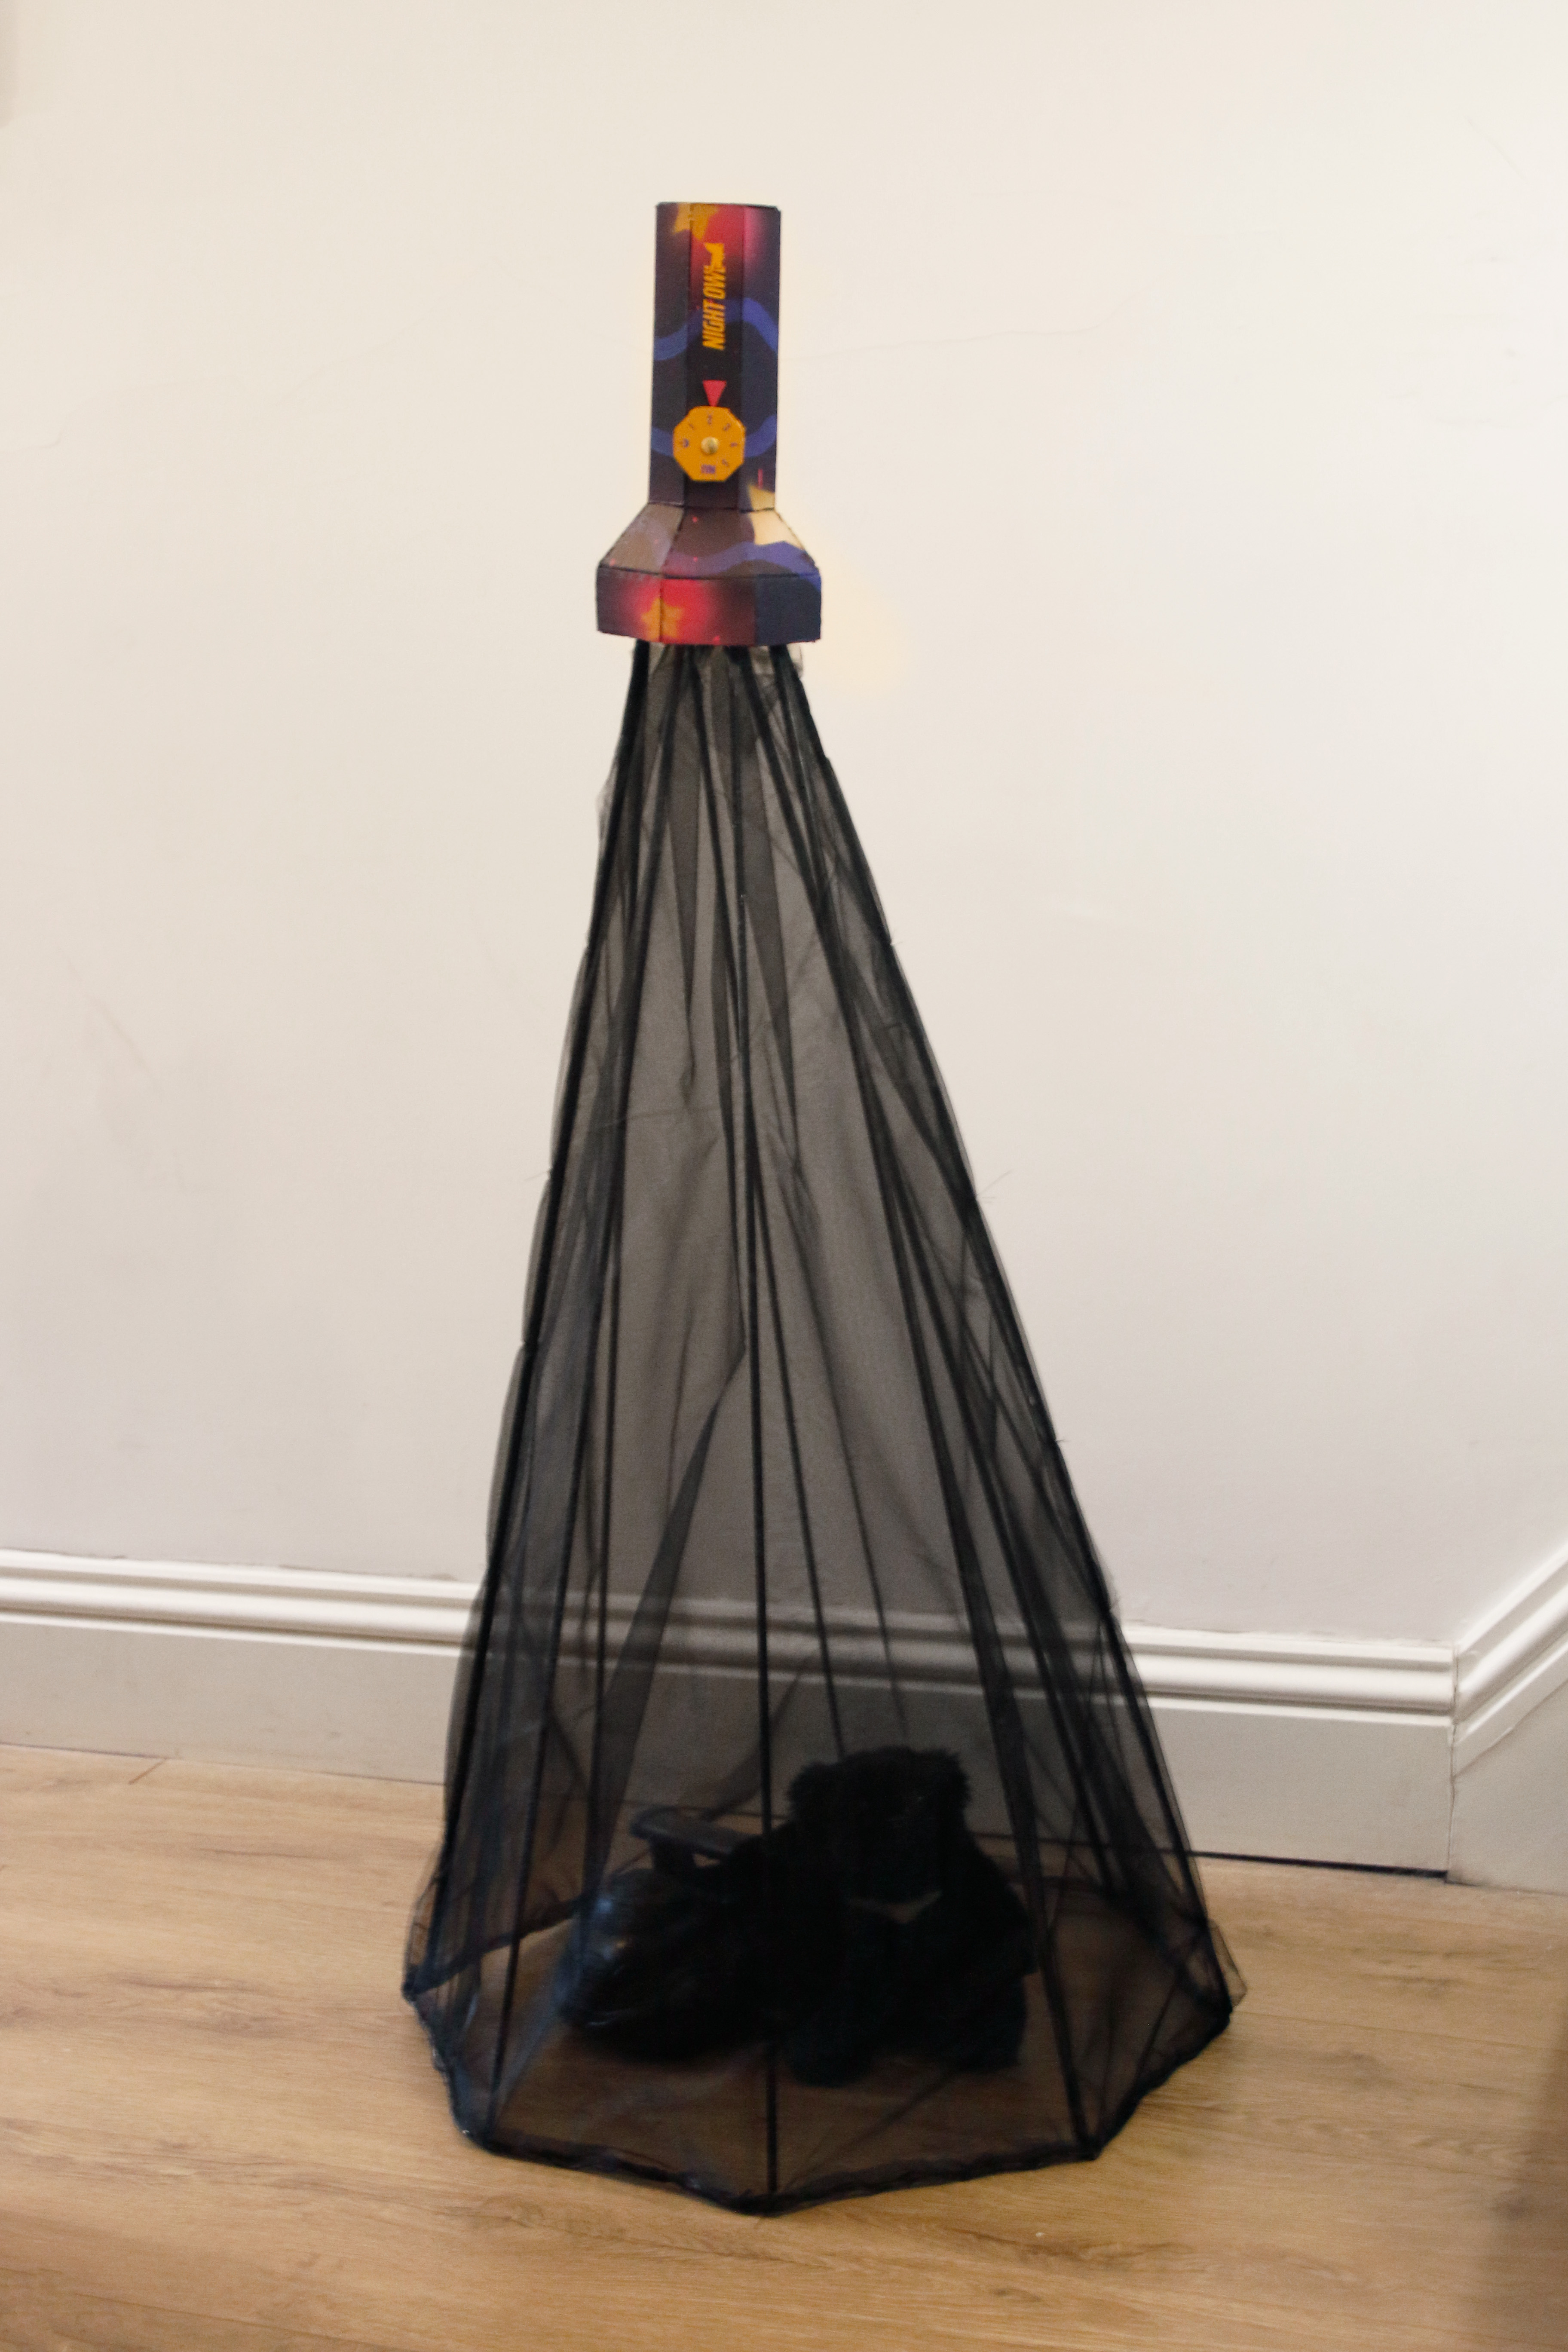
This idea has been brought to life
I enjoy trying all things creative, whether it's physical, digital or even just a doodle on the bottom of a page! In my free time, I like to kick back with my elderly cat, Sid, and appreciate the nature in my back garden.
This idea has been brought to life by student maker Rose Richardson.
Blog entries
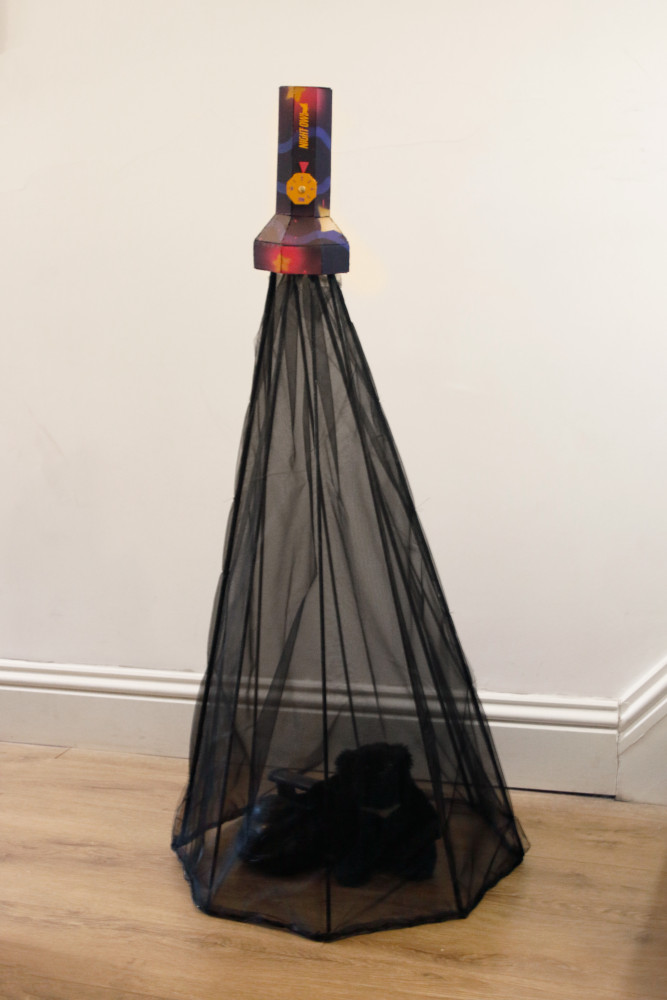
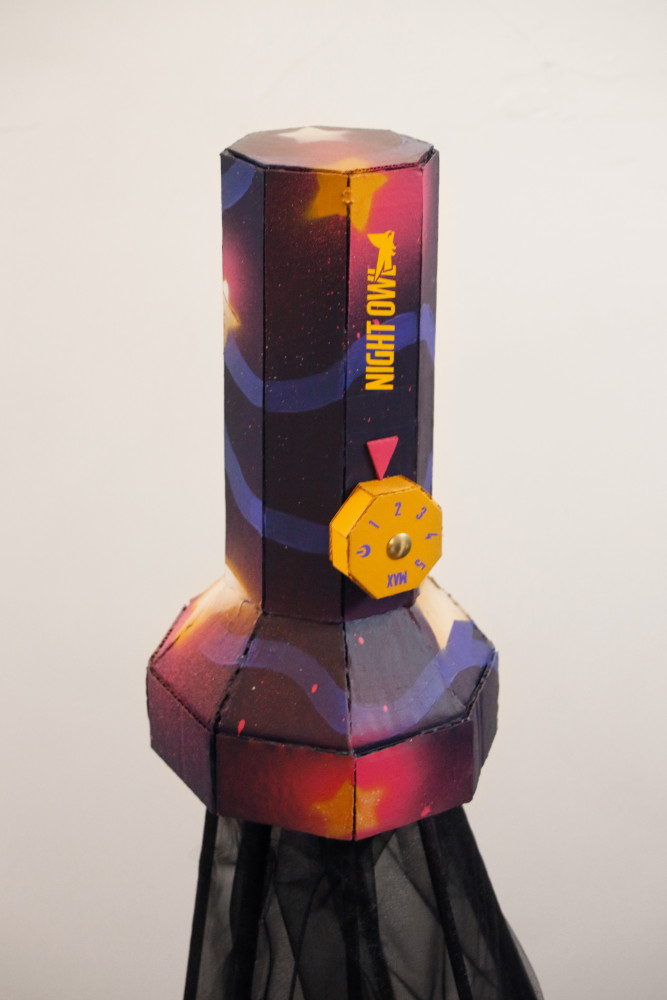
The final sculpture! Paired with some dark toys, it shows how the light can't touch the objects inside.
I collected names and ideas for branding from the kids I visited at the primary school. These names were all so creative and I read through all their pages, one thing stood out. Owls! The name "Night Owl" came up multiple times, and I think it suited the starry pattern on the torch. I created this logo and cut it out in vinyl, and then applied it.
This was the hardest part, applying the fabric to the frame. I cut out 4 panels of organza fabric to wrap around and double over for extra darkness. Then I machine stitched the bottom seam, pinned it to the frame and hand stitched them on. This was tough and time consuming, but using a curved upholstery needle made it much easier. The final result is a block of darkness, just as I wanted.
One thing the class had asked me was: "what if there was a way to change how dark the shadow was?" So, instead of a light switch I would make a dial like a dimmer switch! A great idea that adds more realism to the invention.
I used my vinyl cutter to make some numbers. And I made the on/off symbol look like a moon as a little easter egg for the keen eyed viewer too!
I started by painting the torch in the northern lights theme, but it didn't seem very inviting, or look very much like the northern lights. I instead went for the schoolkids other favourite, stars! I layed down a dark purple acrylic and added blue streaks for variation and depth.
Then came the nost fun part. Using a stensil, I sprayed on layers of pink, yellow and cream to make the stars. They appear to glow nicely. Much better!
I had the wonderful opportunity of meeting the primary school children who are taught by the inventor of the torch. They approved of my idea, and definitely had a lot to say. Out of my designs for the paint-job, they really liked the glow-in-the-dark stars and the northern lights idea (which some of them proudly corrected to aurora borealis).
I also gave them the opportunity to give me a tech name for the invention to put on the side. Some chose imagery of owls, nighttime, cats or stars, which were all great.
I needed a way to achieve a cone shape with fabric, so I created a frame out of wire and small pipes. Then, a shadowy organza fabric can be sewn over the top to create my beam. I poked the wires into the cardboard, then glued the torch closed fully.
After the torch 1.0, I felt like bigger is better. I created my net digitally and used a plotter to transfer the design onto the cardboard. I cut it out precisely and used a hot glue gun to construct it. I love how sturdy this version is, although I'm still unsure how its being attached to the wire frame!
At the beginning of the project I had lots of ideas of how to show a beam of darkness, but during the prototype phase it became obvious what was possible with wire and cardboard. Out of my sketches, I chose for an upright torch supported by its beam with a hole at the bottom to place some items drenched in shadow. In this stage I discovered my torch could be even bigger and cartoon-ier, and my wire frame needed some stronger bones.