Auto Shivering Heating device
This idea has been brought to life
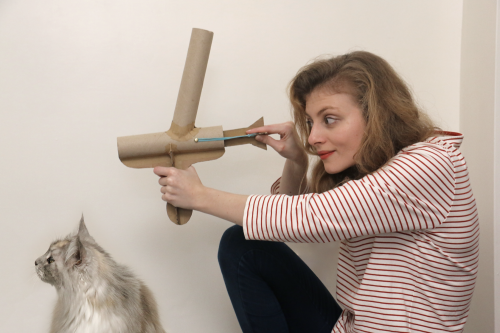
I'm an animator and model-maker based in Northumberland. I combine digital animation techniques with more traditional methods like stop motion. I enjoy sharing my skills with others - I'm an Associate Lecturer at Northumbria University and an animation mentor with TICE - introducing children to what it is like working in creative industries.
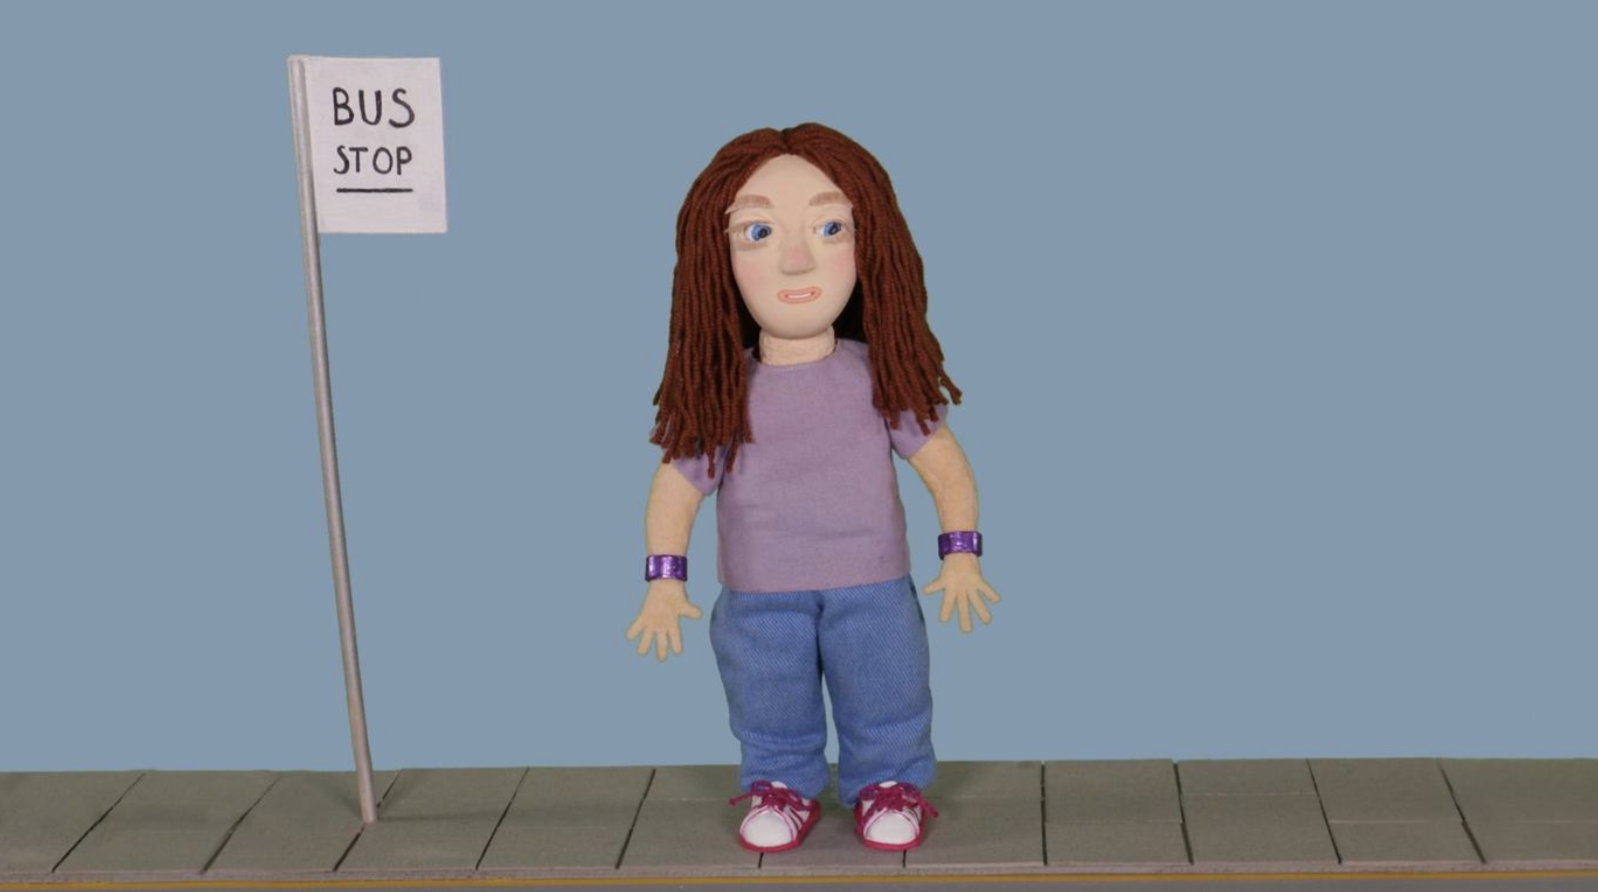
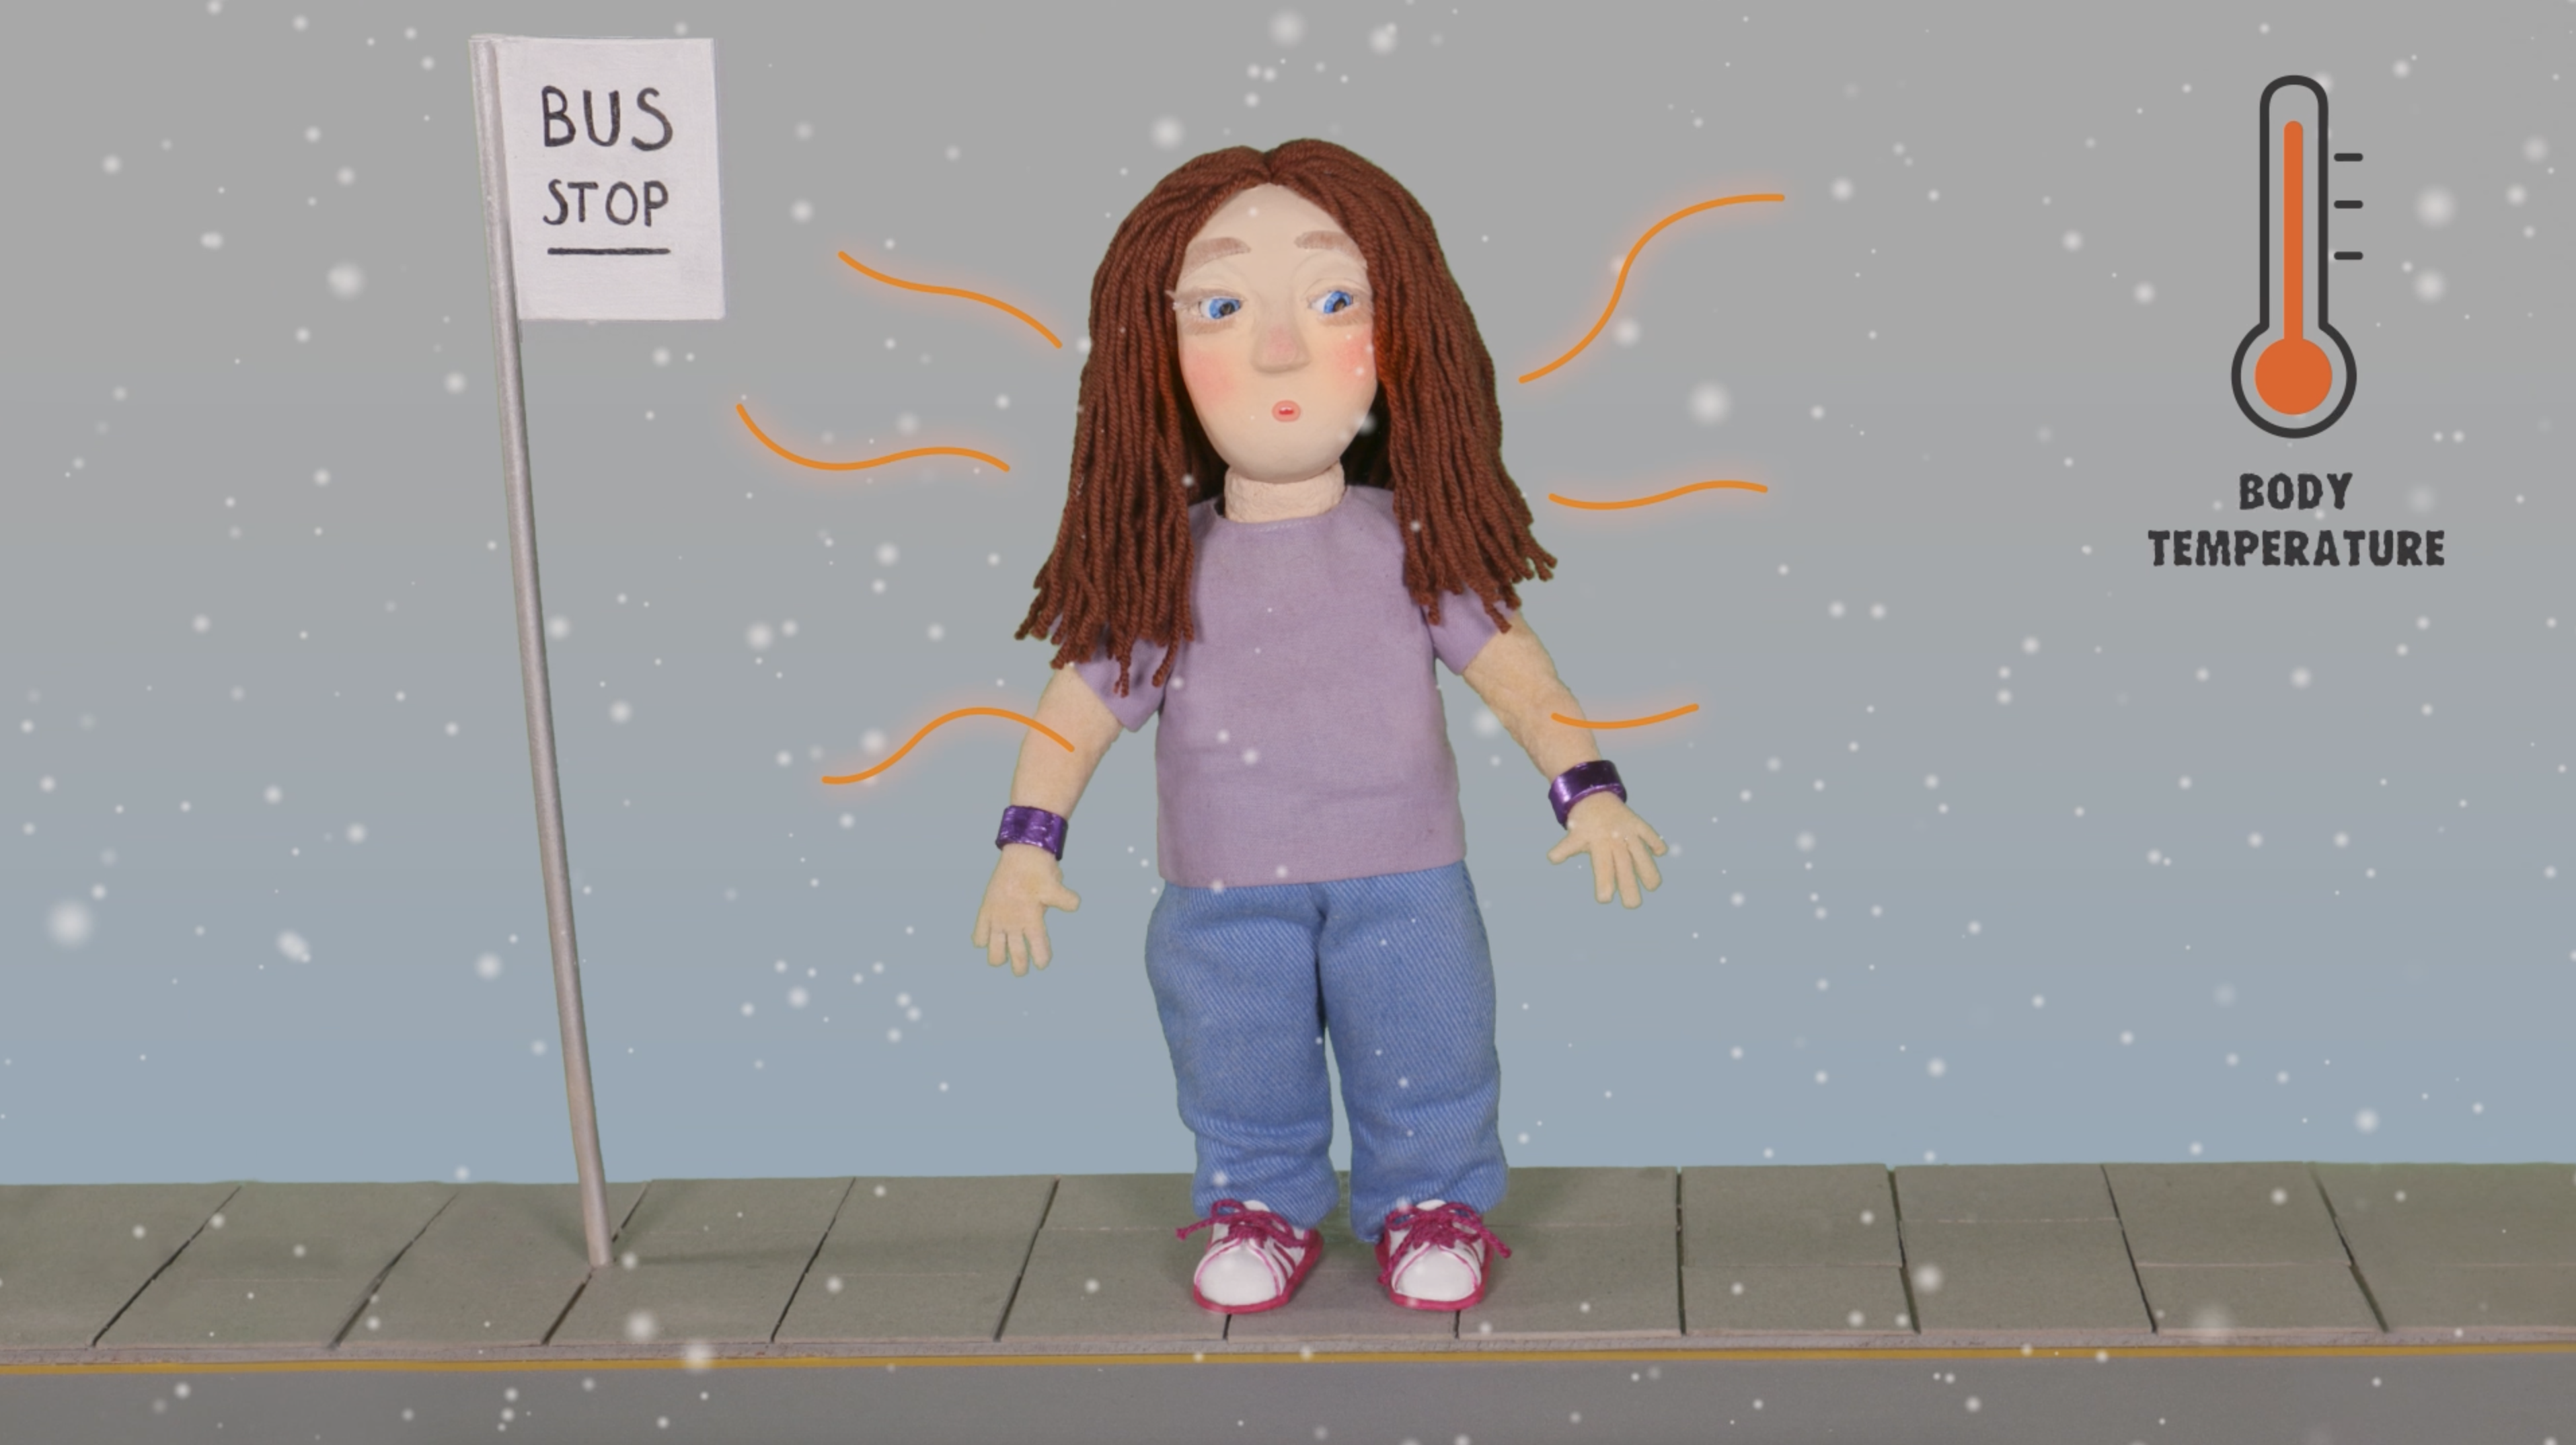
Chloe Rodham chose Bo's Auto Shivering Heating Device to bring to life! Chloe is an animator and model maker and used her skills to create Bo's character and show us how the device generates heat.
Blog entries
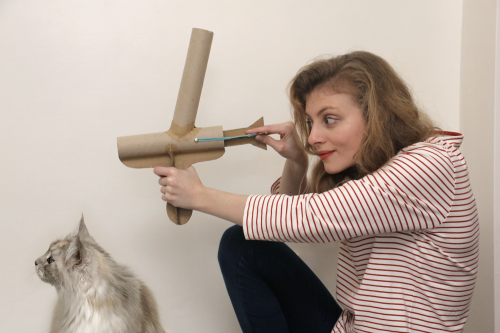
For the animation I use a stills camera and move the character a little bit, taking a photo every time. This creates the illusion of movement. It takes quite a long time to do but it’s great when you start seeing the character come to life.

When I met with Bo we talked about where to set the scene of the animation. We decided a bus stop would be good as people get quite cold when waiting for their bus to arrive. I’ve made a little road and bus stop sign to put the character on. The background is green so that I can change it later on the computer.

So that the character can look cold before her auto shiver bracelet detects she’s cold, I thought her teeth could chatter so I’ve made lots of different mouth shapes so this can happen. It will also be useful to give the character expression.

The shoes are made from a similar kind of clay to the one I used to add to the wire structure. This one is called magic sculp and allows you to make things that have more detail like these little trainers.

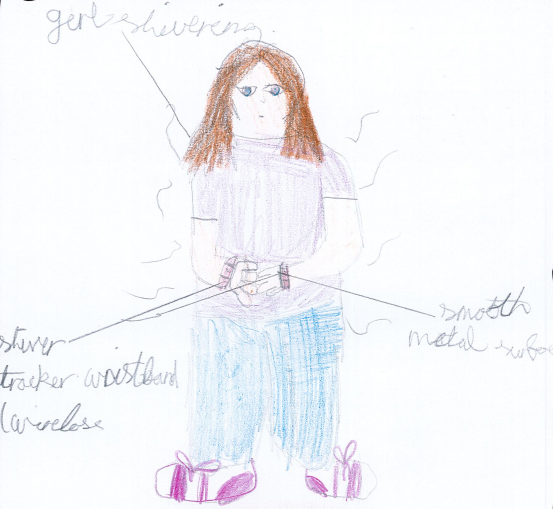
Now it’s time for the most important part - Bo’s bracelet. Bo described this on the drawing as shiny metal so I’ve saved a shiny sweet wrapper foil to cover the card underneath so it looks like how it has been described.

I’ve threaded the hair through all the holes in the head and now need to trim down the wool a little so it’s more like the length that Bo drew it in her picture.

The clothes have been made by adapting a full-size pattern into a tiny one, I’ve chosen fabric colours to look like Bo’s drawing.

I’ve drilled lots of holes in the head so that I can thread through wool to give the character hair. The eyes are wooden balls I’ve painted and varnished to look like pupils. They’ll be able to move around to give the character life.

This is what the face is like when it comes off the plastercine model. I need to join the back and front pieces back together with more papier-mâché as you have to cut it in half to get it off the original sculpt.

Now the armature is dry I’ve added upholstery sponge which is the padding that comes out of sofas. It’s easy to cut it to shape with a pair of scissors but it gets a bit fiddly where the fingers are as they are quite small!

Where the wire is joined I’ve added milliput, which is like a clay that dries really solid, it helps to make the structure nice and strong.

This is the wire armature structure that goes inside the model so that it can be positioned in different poses to make the character look like it’s moving when it is animated.

This is the papier-mâché going onto the face so that it can create a lightweight face - once dry I’ll peel off the papier-mâché and remove the clay as the clay is quite heavy.

This is the start of the pastercine sculpt - I'll be using this is a base to papier-mâché over the top. Plastercine is quite heavy and I need the model to be nice an light so its easy to animate. I have used wooden beads for where the eyes will be. They have a hole in them so they will be able to move.

This is my first post, I'm going to be making Bo's fantastic Auto Shivering Heating Device as a model and stop motion animation - I think Bo's idea is very clever and I know I could definitely use it to warm me up as I'm always complaining when I'm chilly! Bo has drawn a really good drawing of the person using the device so I'm going to plan out what size to make it and then start off making the head out of plastercine.
