Recycling Bin Robot
Blog entries
This is what our final finished model looks like, all assembled next to the finished poster we made for it.
Finally for the yellow stripe on the sketch I used a yellow ribbon and tied it around the body. Then I added a yellow bow at the front for my own unique spin on the design. I also put blue glitter paper onto the body and dome to hide the paper gaps from the blue card and make it look neater.
- Written by Scott
First draft made by Alec (my partner) and was given feedback on how to improve it. I used his layout and created it to look more realistic on photoshop using stock images I found on the internet. Then when we boot met up, we placed the 3D model he made onto the poster and added the text. The font we used was childhood made by Flo Crusher. We also added 3D elements to our printed poster by adding real rubbish around it.
-Written by Scott
I made a 3D model on a computer software called fusion so that we could add a realistic render of the product to our poster. This led us to get the photo of the product that was placed on the poster
- Written by Alec
For the very first initial draft I drew out some ideas on paper. The main idea that came from it was to create a winding forest path with some rubbish on the floor and the bin on one of the sides. Then I created a version of the idea on a computer program. But I it was not the best so knew it would have to be reviewed
- Written by Alec
To make this we had some green paper that we felt looked similar to the recycling colour. So, I made one recycling arrow then traced round it and cut out the 6 other arrows from the green paper
- Written by Alec
Made the face, eyes and mouth out of card. Wanted to make it as close as possible to sketch. Then I wanted to have a dark blue outline around the face to match the same colour as the body. Finally, I stuck everything together with a normal glue stick.
- Written By Scott
I made the door flap by cutting a piece of cardboard to the shape of the door on the front. Then I stuck it onto the dome of the bin with tape and glue. Since the door would not move back to the original position I tried to add some support to make it return to the original position. Final once that was done I added some black card to it
-Written by Alec
For the wheels of the sketch, I made 4 semi circles that would be glued onto the bottom of the bin. This was done by cutting 2 cardboard semi circles and then a solid outer that would follow the shape of the semi circles. I also added some black cards to the wheels to make them look like rubber.
-Written by Alec
Used mount board the crate the first inner shell of the dome. I sketched a circle onto the martial and cut it out. I also sketched lines and spit to the circle up. Also sketched a lot more circles onto it too make the fold lines to cut a little in to make it fold better into shape. I used cardboard to create another layer of the dome to make it sturdier and to hold it shape. Glued on blue card around dome. Painted the dome a metallic blue paint to give it a more robotic look.
Written by Scott
I used card for the body as my material. Created the bottom as a circle and for the sides and back made it one piece of card and made fold lines into the card for the body to be curved. I used UHU glue and masking tape. I made the front a separate piece as it was easier to cut the holes. I did the same method as before, cut out fold lines and stuck the front with masking tape and UHU glue. Glued on blue card around the body for the colour
-Written by Scott
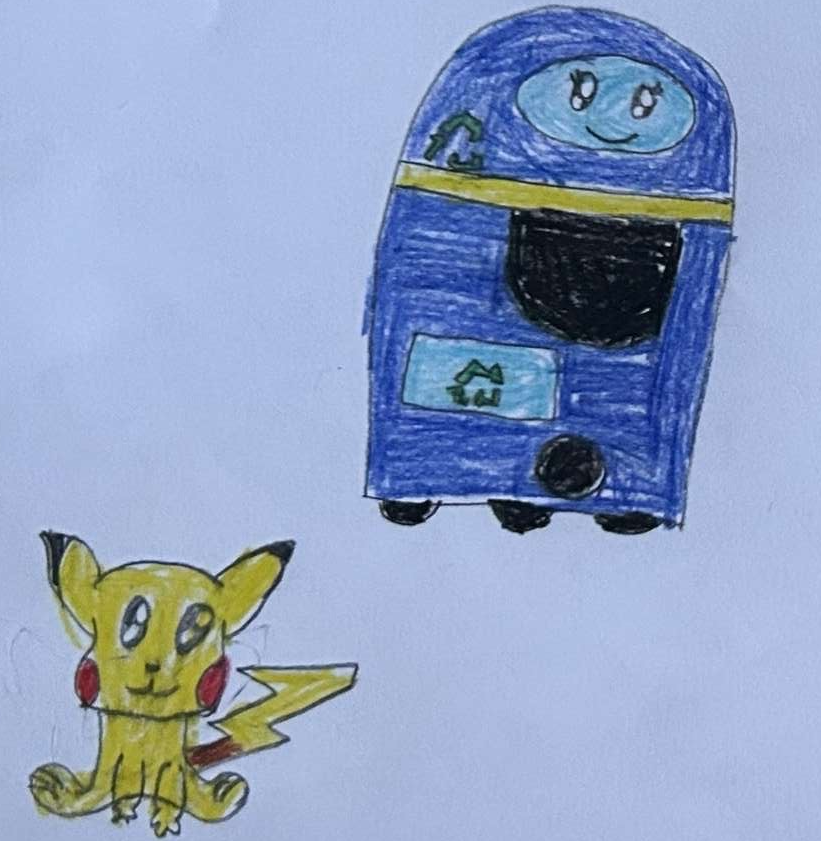
Firstly, we decided to pick Tanvi robot bin design as we really loved the look and idea of it. I wanted to resketch the design with my style and sketch different views of the robot bin. I also had sketches of how each part would be created and split them with my partner. I would do the body and dome head while he would do the wheels and a working door flap which opens and closes.
-Written by Scott
I created some initial drawings of the original design as well and then started working on some designs for the poster. Just being very basic drawings to get some ideas going.
-Written by Alec