Fire Board

Blog entries

As part of the final stage of the project, as a collective, an exhibition was set up in our University to showcase everyone's work and outcomes. I think that it was great to see what everyone had produce throughout the project and collectively it looked nice. Below are photos of the final set up.

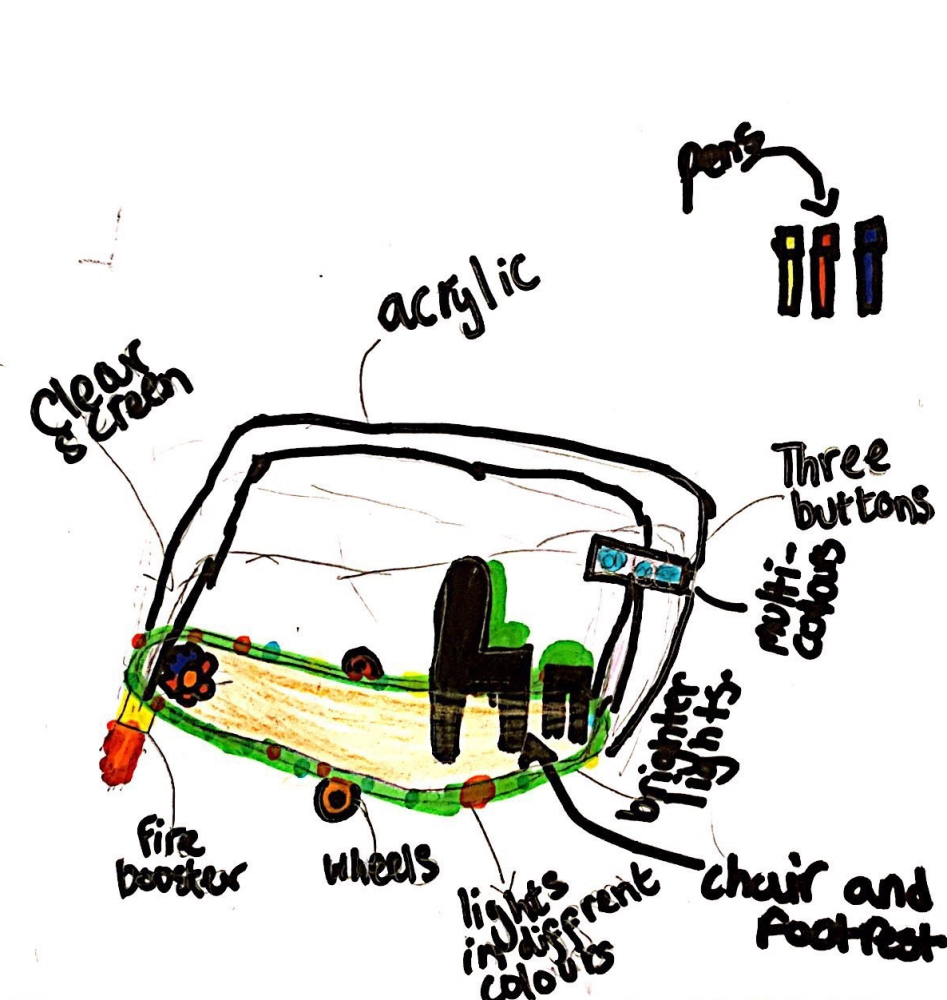
For the final stage, I assembled together the model with working lights and a fire booster element as Elizabeth desired in her design. It took some time to get the final together as it was time consuming and required time to dry and minor issues such as waiting for lights and materials to arrive, but eventually I managed to complete Elizabeth's design.

To decorate the hover board and bring Elizabeth's design to life, I created a sticker of the flower that Elizabeth drew on her invention sheet. I recreated this design on Illustrator and coloured it appropriately. Additionally, it was suggested to me to make a logo sticker for the Fire Board brand and so I drew one up on Illustrator and printed it out onto a sticker sheet to place onto the board.

As Elizabeth had wanted lights surrounding the board, which illuminates in the night, I has bought a LED strip light to stick around the board and played around with how I could change the colours and attach to the board.

Over the past days, I've been working on the different parts for the board, and mainly spray painting each of the pieces appropriately. Having purchased spray paint in the colours Elizabeth desired, I sprayed each component accordingly. Orange for the base, and pink for the handle bars.

Since the last session, I have been working on the model and continued to work in the prototyping room. I marked and planned out where and how I was going to attach the wheels to the base of the board and drilled holes in place. Additionally, I've bought spray paints in order to paint the board appropriately.

Since mocking up my initial idea on Solidworks, I have been planning on how to make this life scale and buying materials. I started off purchasing Plywood and a wooden dowel to create the base and handles for the hover board. Working in the prototyping room, I've cut, sanded and shaped the base to create the main body of the design.

To envision Elizabeth's idea better, I decided to mock up the design on Solidworks to gain better understanding of how this idea might entail. Visually, I tried to plan out the idea and see how this could look physically as a model or prototype. I added colours and materials and rendered the digital model to see how this would work. Additionally, I applied LED lights to the digital model to portray how the real product could look.